Wednesday, 1 February 2012

Pink a Pink any pink

Welcome to February everyone!! You've successfully made it through the doom and gloom of the first month of the year. I hope you've all managed to keep your resolutions I shall have to update you on mine later this week.

Recently I've become obsessed with lipsticks and managed to find a shade that:

a) Suits me
b) I can wear everyday
c) It didn't cost me an arm and a leg (hooray!)


Pastel shades are a S/S must have and I treated myself to a pastel pink. I chose Barry M as I've heard lots of fab reviews about them. I did also read that the colour doesn't pigment so well but this has done wonders for me and I'm a happy lady! It's shade 150 called Pink Suede.


For £4.50 you can't really complain the colour goes on easily, doesn't dry your lips out and looks great on warm toned skin. On my skin tone it comes up as a warm neutral pink...See for yourself!


What's your favourite lipstick shade?
Have you tried a Barry M lipsticks before?


Sunday, 29 January 2012

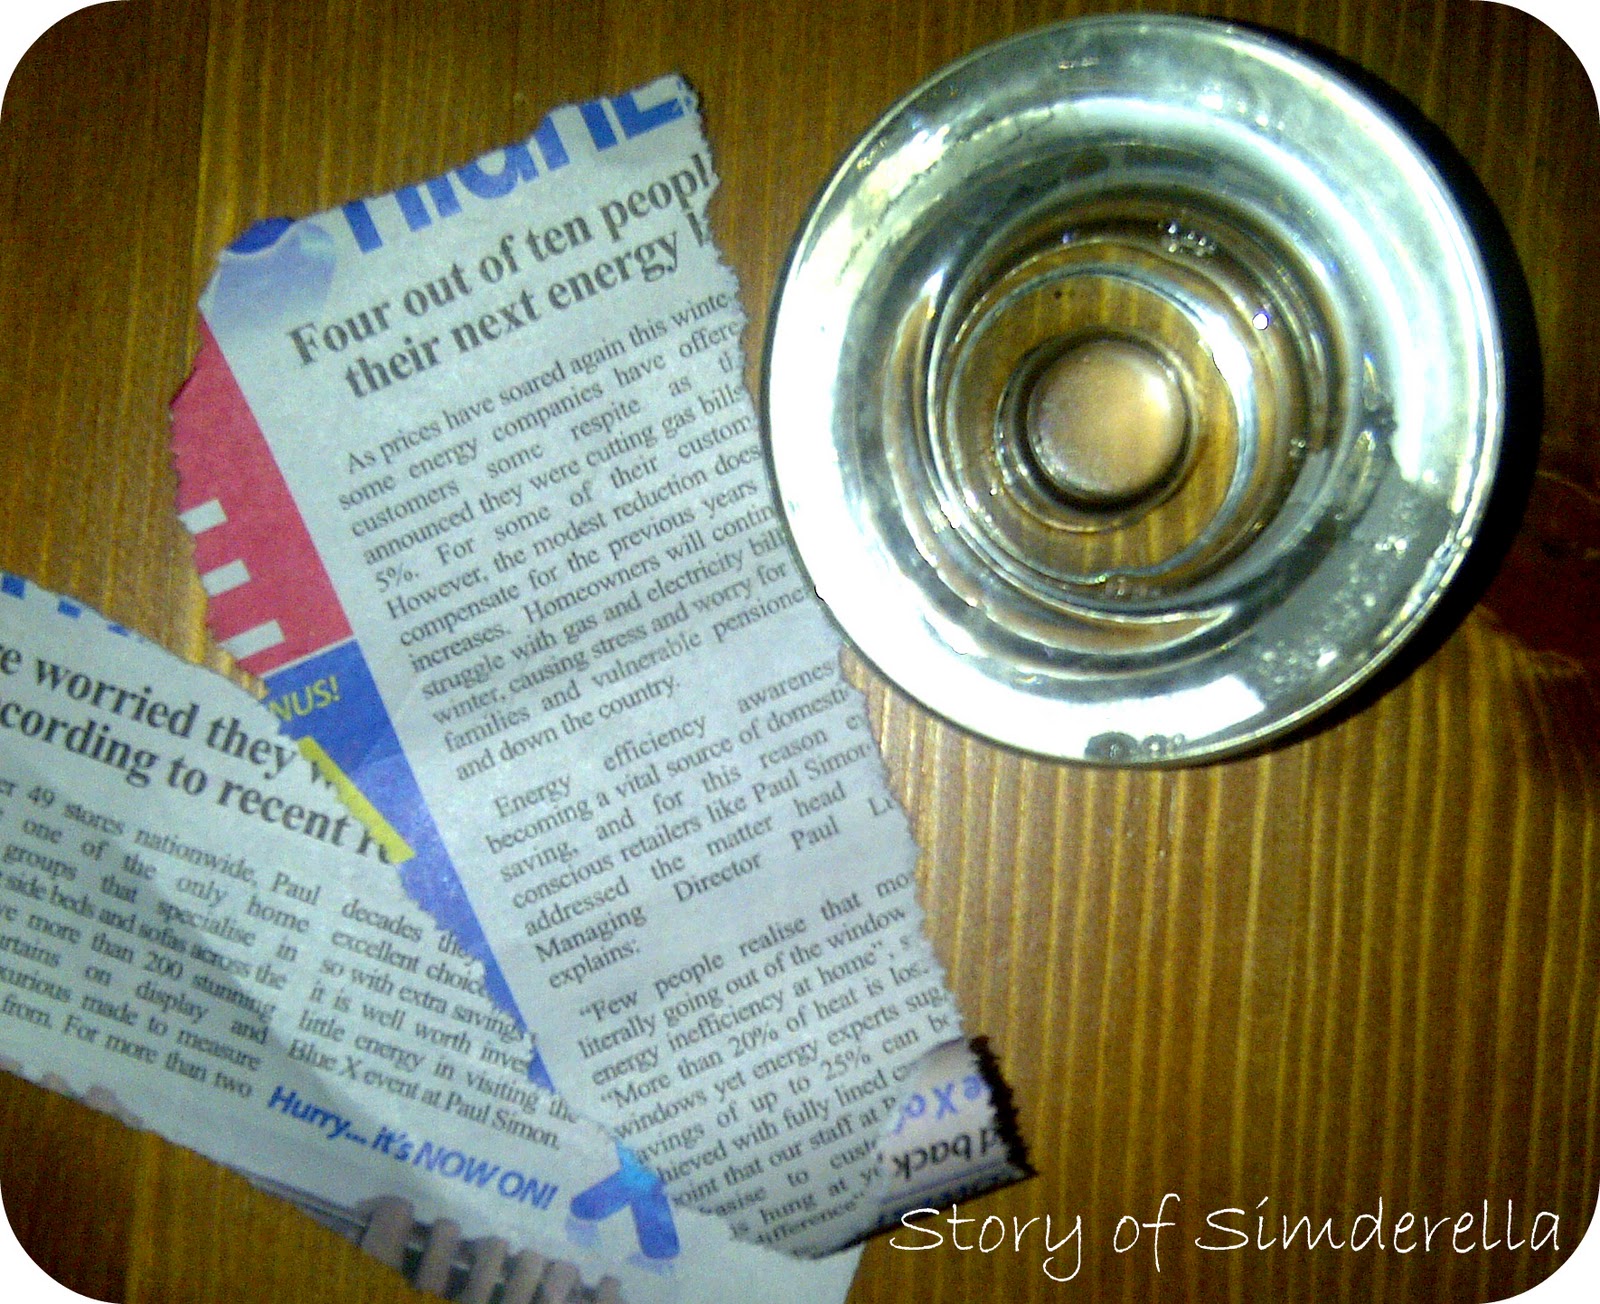
Newspaper Nails

The post title says it all and the images show you how to get them! Super easy..I haven't added any text as I think the pictures are really easy to follow but......

You must:
  • Make sure your nails are completely dry when attempting this. I waited a day for my nail varnish to dry before I tried this out.
  • When holding the newspaper over your nails, use more than one layer. If you use one layer of newspaper the ink doesn't transfer so well and just turns soggy! 
  • Hold your nail in the Surgical Spirit for at least 20 seconds. 
  • After you've completed the look apply a top coat to lock the ink in.


Surgical Sprit and a newspaper.

Leave nails to soak in Surgical Spirit for 20 seconds

Cover nail in 2-3 layers of newspaper
(works better than using one sheet)
Add a top coat to lock in the print!

What do you think of these nails, have you tried them? I'm looking forward to experimenting with other colours! 

Tuesday, 24 January 2012

A Sucker for the Sales....

As much as I didn't want to spend any money on anything I didn't have to I've managed to pick up quite a few bits of jewellery this year! Not sure how or why but here is what I managed to pick up (on a second unintended shopping trip) from Topshop and Accessorize.


Bracelets Topshop were £18 now £4.50
Accessorize Nail Polish - £2
Necklace Topshop was £10 now £3.50 
Accesorize was £28 now £8.50

I've heard lots of good reviews about the Accessorize polishes so looking forward to testing that one out!

Anyone else been doing any unintended shopping recently, I know I'm not the only one!? 

Monday, 23 January 2012

Monday Make Up Wishlist

Hello everyone! How are you all? I hope you've turned the doom and gloom of Monday in to a positive day. I thought being Monday and a day that not everyone looks forward to I would share with you my make up wish list! Just a few things I'm looking forward to saving up for and an exciting reason to turn a grumpy Monday upside down!

Maybelline Eye Liner - Everyone is really in to Gel Liners at the moment and after having a play around with my E.L.F Cosmetics cream liner I can see why. They make such a dramatic difference to your eyes and that is the only reason why I want this!


Clinique Chubby Stick - Not sure why but these are so tempting to me! Bizarrely enough I think it maybe because it looks like a crayon. Anyway, I've seen very good things about these chubby sticks and I can't wait to try them!


Rimmel Pro Matte Top Coat - Ever wanted your favourite polish in a matte colour? No...how about 'would you like to try your favourite nail polish in a matte colour because it might look pretty? YES...I have your solution. Originally Chanel brought out a Mat Top Coat which does everything on the bottle. With three strokes your nail varnish can go from the glossiest gold to a sophisticated matte! Now, I'm currently a beauty blogger on a budget and as tempting as Chanel may be I will go for the counterfeit Rimmel version for now which is £4.50 from Boots!


I've decided  I'm no longer signing up to glossybox purely because the £12 a month I could spend on buying the items on my wishlist - starting with the Maybelline Eye Liner! Of course, I'll be reporting back on my purchases!

To top off my temporary wish list, here is an inspirational image for the end of the day thanks to we heart it!

Tumblr_lw662d3g2w1qg7lyno1_500_large
Are any of these on your wishlist, if not what is!?

Friday, 20 January 2012

Interview Nails

Interviews are scary enough without worrying about how you look to your potential employer! Painting my nails always helps me feel a bit more confident. Sophisticated, chic and proffesional nails equals to a sophisiticated, chic and proffesional attitude.

My play it safe interview nail polish colour is Nails Inc Saville Row.


What's yours? 

Thursday, 19 January 2012

Blog Awards!

Hey ladies!


I mentioned yesterday that Story of Simderella was nominated for The Liebster Award! How exciting the award is for new bloggers with less than 200 followers. I was given this treasure by Lipgloss Lily who you can see here! Be sure to check her out for the latest beauty industry goss, her latest purchases and for a good read!


If you receive an award here is what you have to do  -


1. Thank your Liebster Blog Award presenter on your blog
2. Link back to the blogger who awarded/nominated you
3. Copy and paste the blog award to your blog 
4. Reveal your top 5 blog picks!!
5. Drop by your top 5 picks and let them know you chose them by commenting on their blog!

Here are my to 5 blogs at the moment in no order! I'm not going to give them a description just to make sure that you check all of them out. They are 5 exciting blogs with extremely interesting posts! Well done ladies and keep up the hard work and fab posts!!


I would like to thank Lily for giving me the award and thank you to my followers and readers (new and exisiting)! Blogging wouldn't be the same without your comments and lovely feed back. 

This award has put my blogging mojo back in to full swing and here is what you'll find coming up on Simderella soon!
  • Interview Nails
  • What's in my make up box (yes it's a box)
  • Newspaper Nails
  • My Make up Wish list
  • How to fix a gloopy polish 
Ciao for now! xx 

Wednesday, 18 January 2012

Three Hour Make up Master-class with Natasha Zaki

Hi everyone!

First of all I got an award!! The Liebster Award from Lipgloss Lily - It's a blog award for new bloggers to find other new bloggers etc. I will be sharing the award in tomorrows post! Moving on to today's post...

It's Wednesday a.k.a Hump Day so I thought I would brighten your evening by sharing what I learnt at a 3 hour beauty masterclass I attended on Sunday. Get a comfy seat this post is a long one!

The class was held off Brick Lane, was very informative and I left with a well made up face (Thanks to my MUA RJ)

The class was hosted by Natasha Zaki who has worked London Fashion Week, TV Award Ceremonies and many make up counters! She taught us how to apply a base, contour the skin, then how to create a smokey eye look and her favourite products. So to make this really easy to follow and understand I have broken it up in to the steps we took.

Step 1: Use a good moisturiser as that is what 'makes' your skin. Always use a moisturiser before applying your foundation and work it into the skin using your fingertips to get into the dry areas of your face.

Tip: If you have a oily t-zone use an oil control lotion or a primer.

Step 2: Apply foundation to your forehead, cheeks,nose and lips (We used it on our lips as we were going for a neutral look). Then blend, blend, blend. Using a foundation brush blend the foundation in different directions as this is what prevents lines. We used MAC Studio Sculpt which left the skin with a dewy look. I fell in love with it, it's so much better than Studio Fix Fluid. It felt very light on the skin, like it was barely there and did exactly what it says on the tin- left the skin looking natural and dewy.


Step 3: Apply concealer under the eye area. In the class we used MAC Studio Finish concealer we placed it on the inner eye and under the eye to finish the base. I personally don't rate Studio Finish as it creases under my eyes. Anyone have any good concealer recommendations?

Step 4: We then used a highlighter to accentuate the skin. We used Nars Cocomama Shine Stick and applied with our fingers down the nose, forhead, cupids bow, and created a C around the outer eye. Like most NARS products the shine stick is amazing and suttle at the same time. Very easy to apply without wasting lots of product. It's better to use your finger to apply a highlighter as it warms the product helping it to go on to your skin and a brush just doesn't do the same thing.

Now on to the contouring

Step 5: We applied a MAC Mineralize powder UNDER the cheek bone, down the side of the nose  and along the forehead. The key here is again to blend, blend, blend.

Step 6: Next was the blusher - We used MAC Mineral Blusher in Warm Sol to the apple of the cheeks and blended well.


Step 7: Now it was time to create the perfect smokey eye. I'm going to bullet point how we did this to make it easier for you to follow/ read! We used a Eye cature herbal eye liner as they are easy to manipulate,move and layer. As it's herbal it is actually 'healthier' for your waterline.
  • So we applied the Eyeliner to the waterline.
  • We next scribbled the eyeliner over our eye lids and blended it out with a thick brush but concentrating on the lash line area. Making sure all edges are flattened out to soften the socket line.
  • We then used a sparkly dark grey to press in to the eyeliner area. This created more depth and helps the eyeshadow to stay on for longer. We used circular motion which helps it all blend together.
  • Using an angled brush we pressed the same eye shadow under the waterline and joined it with the upper lash line to create the 'smoke' in smokey eyes. 
  • Lastly, we used Screenface Fardel Fluid. Which is a runny black liner on the top lash line. Followed by Opulash volumising mascara.
Step 8: The last step for this look was filling in the eyebrows, a touch of lipgloss and VOILA...You have smokey eyes!


It was a great experience and I will defo be attending more of Natasha's classes along with my BFF. Although everything mentioned above may be obvious it is the little things like placing the importance on blending that counts. I know in the morning before work no one has the patience to sit there blending make up but it really does make a difference!

P.S Be nice to my face it's the first time it's been revealed on le blog!

Have you ever been to a make up master-class? 

Monday, 16 January 2012

Why You Should Use a Base Coat

This week I'm not wearing any type of polish to share with you so, I thought I would type up some nail fundamentals when applying your favourite polishes....

WHY INVEST IN A BASE COAT?

Now I'm no nail guru but I do use a base coat and here is why:

  • Helps the polish to stick to your nails meaning your nails polish will last longer . Bonus! 
  • It acts as a barrier to protect your nails from any damaging effect of polish such a staining and peeling of the nails (yuck)
  • They usually contain nutrients for nails such as: protein, aloe vera, vitamin e, and/or calcium. Basically a good moisturiser for your  paws. 
I use Nails Inc Kensington Caviar which dries really quickly and does the job for me! (Can be seen hiding in this post here)

Which base coat do you use?